
Chimney Mortar Repair Starts With the Joint’s Location
Identify exterior, firebox, flue or crown damage; choose compatible mortar; and know when chimney repointing is unsafe or insufficient.
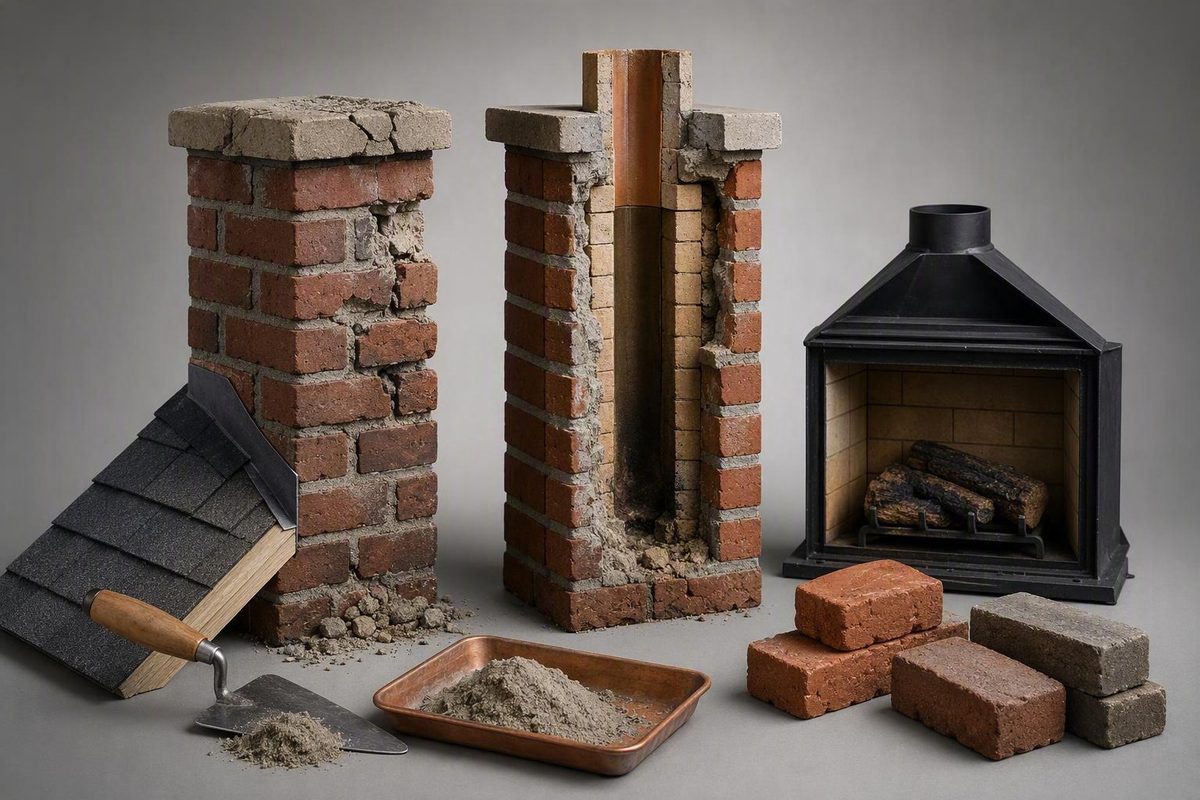
Chimney mortar repair usually means repointing: removing deteriorated mortar from exterior masonry joints and packing those joints with compatible new mortar. It does not mean smearing mortar over the face of a crack, and it is not the right repair for every part of a chimney.
First identify where the failed material is located. Exterior brick joints, the firebox, the flue and the chimney crown have different exposures and may require different products or repairs.
Decide whether this is a repointing job
A limited exterior repair may be reasonable when all of the following are true:
- Deterioration is confined to a small number of mortar joints.
- The bricks or stones remain solid and in alignment.
- There is no leaning, bulging or movement.
- You can reach the work from a stable, code-compliant work platform without improvising roof access.
- The chimney has no history or signs of a chimney fire, smoke leakage or interior water entry.
- You can identify a mortar compatible with the existing masonry.
Repointing is generally appropriate for eroded, loose, cracked or missing joint mortar. The Brick Industry Association describes it as removing damaged mortar to a uniform depth and placing new mortar in the joint; it also warns that stepped or diagonal cracks, cracks through multiple bricks, widespread spalling and out-of-plane movement can indicate structural trouble requiring professional investigation (BIA Technical Note 46). See Cracked Chimney: Causes, Warning Signs and Repairs when the damage extends beyond the joints.
Stop and arrange an inspection if the chimney leans, bricks are loose over a broad area, cracks cross through bricks, or smoke appears to escape through masonry. A manufacturer’s chimney-repair guide likewise treats a leaning chimney or one leaking smoke through brick joints as professional work (Quikrete chimney repair guide).
Do not use the chimney after a suspected chimney fire until it has been swept and evaluated. Heat can cause hidden joint failure or structural cracking that is not visible from either end of the flue (Chimney Safety Institute of America).
Match the mortar to the location
Exterior masonry joints
Do not choose mortar simply because it has the highest strength. For older or softer masonry, an excessively hard or vapor-impermeable mortar can shift stress and moisture damage into the brick or stone. National Park Service guidance calls for repointing mortar to be softer or more permeable than the masonry units and no harder or less permeable than the historic mortar (NPS Preservation Brief 2).
That means a bag labeled “mortar mix” or “Type N” is not automatically correct for every chimney. Age is only a clue, not a mortar specification. For an old, soft, handmade or visibly spalling brick, have an experienced restoration mason evaluate the existing mortar and prepare a sample panel. Match not only strength and permeability but also sand, color, texture and joint profile.
Firebox joints
The mortar between firebrick is exposed to direct heat and should be a product specifically approved for that location and repair. Fireplace mortars can have narrow limitations: one commonly sold product is designated for indoor firebrick repairs, requires heat curing and directs users to build deeper joints in layers (Rutland Fireplace Mortar instructions). Do not assume that a cartridge labeled “fireplace mortar” is suitable for exterior weather exposure, a chimney crown or a flue liner. Use the decision process in Refractory Mortar: How to Choose the Right Product, or follow Fixing Fireplace Mortar: Repointing Steps for a small firebox joint.
Flue joints, crown and flashing
Missing mortar between clay flue tiles is not an exterior tuckpointing project. The flue must contain combustion products, and cracks in a flue or its mortar joints can let flames and heated gases enter living spaces (Massachusetts fire-safety guidance). Internal defects call for a chimney inspection and a repair designed for the full venting system.
A cracked crown or failed roof flashing is also a separate repair. If water is driving the joint deterioration, repointing alone will fail again. The National Park Service advises correcting causes such as leaking roofs or gutters, settlement and severe weather exposure before repointing. Learn how the crown, flashing, masonry and flue relate in Masonry Chimney: Parts, Safety, Maintenance & Repairs.
Exterior chimney repointing sequence
Use this sequence only after the repair has passed the scope and access checks above.
- Document and test. Photograph the joints, retain a sound piece of original mortar for comparison and make a small test panel in an inconspicuous area. Confirm that the cured color, texture and profile match before expanding the work.
- Correct the cause. Repair the source of water or movement first. Check the crown, cap, flashing and nearby roof drainage rather than treating a recurring wet joint as an isolated mortar defect.
- Remove mortar to sound material. Rake out the full deteriorated depth without damaging the brick edges. Do not merely cut a shallow groove and cover the failure. Follow the selected mortar manufacturer’s required joint dimensions; one Type N product, for example, specifies cutting joints approximately 3/4 to 1 inch deep (Quikrete Mortar Mix data sheet). Different masonry and mortar systems may require a different specification.
- Control dust. Prefer careful hand removal for a small repair. A grinder can damage brick edges and produces respirable crystalline silica. OSHA’s mortar-removal guidance specifies a shrouded grinder, suitable vacuum dust collection and respiratory protection for covered workplace use; blowing the dust with compressed air can increase exposure (OSHA silica-control fact sheet). A homeowner should not treat an ordinary shop vacuum and dust mask as an equivalent system.
- Clean and pre-dampen. Remove loose particles without widening the joints, then dampen as directed by the mortar manufacturer. The joint should not contain standing water.
- Pack, do not smear. Force mortar firmly against the back and sides of the joint. Fill deep joints in lifts when the product instructions require it. Finish vertical head joints and horizontal bed joints in a controlled sequence, then tool the surface to match the original profile when the mortar reaches the specified firmness.
- Cure and protect. Follow the exact temperature, moisture and curing directions for the selected product. Do not add extra water to retemper mortar beyond its permitted working time. Protect fresh work from rain, rapid drying and freezing as its instructions require.
The repair is complete only when the new mortar is bonded through the prepared joint, the water source has been corrected and the chimney’s combustion path remains sound. A surface coating can hide a joint temporarily; it cannot correct movement, a damaged flue or incompatible masonry.