
Plan a Log Burner Installation Around the Stove and Flue
Plan a log burner installation by checking the exact stove, chimney route, clearances, hearth, air supply and approval before comparing quotes.
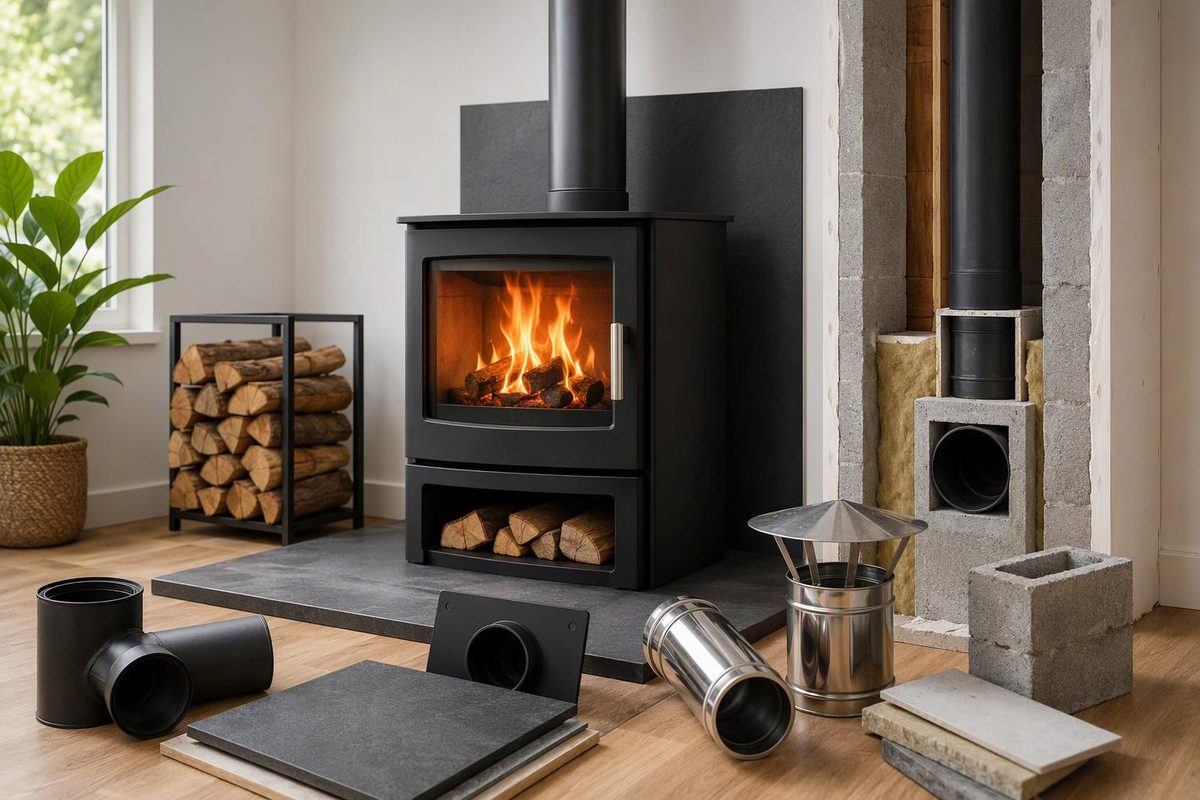
A log burner installation is a stove-and-chimney project, not just an appliance purchase. Before ordering the stove, establish that its approved installation arrangement fits the building: flue route, clearance to combustible materials, hearth protection and combustion-air supply.
Here, “log burner” means a wood-burning stove. This is a planning checklist, not a substitute for the appliance and chimney instructions or local approval. If you are still deciding between a freestanding stove and a fireplace insert, first compare the different wood-burner and fireplace arrangements.
1. Identify the exact stove and approval route
Obtain the model number, permanent appliance label and matching installation manual. Ask the installer to confirm:
- Which fuels the appliance permits.
- Whether it is approved for the proposed setting, including a fireplace recess, alcove or manufactured home where applicable.
- Required flue size and chimney type.
- Clearances for the proposed connector pipe and heat shields.
- Hearth and air-supply requirements.
These are model-specific. For example, the North American Drolet Cape Town 1800 manual permits certain alcove arrangements but prohibits mobile-home installation. Neither a stove’s appearance nor its ability to fit an opening establishes suitability.
Confirm the jurisdiction before using dimensions from an online guide. The examples below are not interchangeable:
- England and Wales: HETAS explains that most domestic solid-fuel installation work is notifiable. An installer registered for the relevant category can self-certify through HETAS; otherwise, arrange the appropriate building-control route before work. England and Wales have separate Approved Document J guidance. See HETAS building-regulations guidance.
- UK smoke-control areas: Ask the council whether the property is within one. Wood may be burned only in an exempt appliance, using the fuel permitted for that appliance—not simply any stove advertised as efficient. See the government’s smoke-control rules.
- United States and Canada: Check restrictions, permits and inspection requirements with local building or fire officials, and notify your insurer. The Drolet manual directs owners to make these checks; it does not establish a universal permit rule.
For Scotland, Northern Ireland or another jurisdiction, establish the applicable approval route with the local authority rather than applying England’s guidance.
Stop before purchase if the model’s installation documents or local approval requirements remain unresolved.
2. Establish a usable chimney route
An existing chimney is not automatically suitable, and the absence of one does not necessarily prevent installation.
| Building situation | What must be established |
|---|---|
| Existing masonry chimney | Structural and flue condition, liner suitability, dimensions, clearance to surrounding construction and cleaning access |
| Existing metal chimney | Identifiable system, permitted fuel and appliance use, condition and compatible components |
| No existing chimney | A suitable factory-made chimney route, supports, building penetrations, combustible clearances and termination position |
England’s Approved Document J, paragraphs 1.36–1.45, calls for checking a reused chimney and flue against the proposed use. It also notes that an oversized flue can be unsafe and may need lining. A sweep removes deposits; it does not by itself prove compatibility.
Distinguish connector pipe—the pipe between stove and chimney—from the chimney system itself. The Drolet manual’s venting sections prohibit running connector pipe through a combustible floor or ceiling and require suitable chimney or wall-passage construction. They also prohibit substituting parts from other chimney brands. Two components fitting together is not proof of approval.
For North American systems, the Class A chimney identification guide explains what to verify. For masonry relining, use the stainless flue-liner planning guide.
3. Check clearances and hearth construction separately
Have the installer draw the stove position and record clearances to walls, mantel, trim, ceiling and other combustible materials. Check the stove and its connector pipe independently: moving the stove far enough from a wall does not necessarily give the pipe enough clearance.
The Cape Town 1800 manual illustrates why a single “safe distance” is misleading: its requirements change with connector type, heat shields and installation configuration. Do not apply those dimensions to another model or assume decorative tile qualifies as an approved clearance-reduction shield.
The hearth needs two separate checks:
- Coverage: Does it extend far enough around the appliance and loading opening?
- Construction: Does it provide the required ember and heat protection, with adequate support for the load?
A noncombustible finish alone does not establish adequate thermal protection. Nor is a 12 mm hearth universally acceptable in England: Approved Document J, paragraph 2.23, allows that approach only outside an appliance recess, for an appliance tested to an applicable standard to verify that it cannot raise the hearth’s upper surface above 100°C. Otherwise, the guidance calls for a constructional hearth. Review the hearth planning guide before choosing the finish.
4. Resolve combustion air and extraction
Tell the installer about range hoods, bathroom extractors, vented dryers and mechanical ventilation. Extract fans can lower building pressure and cause combustion products to spill from an open-flued appliance—even when the fan is in another room. England’s Approved Document J, paragraphs 1.20–1.23, addresses this interaction and testing. It recommends avoiding extract ventilation in the same room as a solid-fuel appliance and seeking specialist advice where extraction is unavoidable.
Ask how air supply will be assessed and how safe operation with extract fans running will be checked. Establish whether permanent ventilation or a manufacturer-approved outside-air connection is required. Do not assume a small stove needs no ventilation, or that adding an outside-air kit automatically resolves every pressure problem.
5. Compare complete quotes and require a handover
Ask each contractor to itemise the same scope:
- Exact stove model and accessories.
- Chimney inspection, sweeping and repairs.
- Connector, liner or factory-made chimney, including supports and termination.
- Hearth, shields and any structural work.
- Air supply, alarms, access equipment and making good.
- Notification or permit fees, inspections, commissioning and documentation.
Before routine use, require successful commissioning and confirm that any inspections needed before use are complete. England’s Approved Document J, paragraphs 1.54–1.55, describes completion checks for obstruction, gas-tightness, suitable components and spillage under fire. Where a hearth, flue or chimney is provided or extended, paragraphs 1.57–1.58 also describe a permanent notice plate recording essential installation information.
Agree how and when you will receive the compliance certificate or other approval record. Under a competent person scheme, the certificate can follow within eight weeks of completion; it is distinct from the commissioning handover.
Include working smoke and carbon-monoxide alarms in the handover. England’s solid-fuel guidance, paragraphs 2.34–2.36, calls for a CO alarm in the appliance room; US CPSC guidance addresses household smoke and CO alarm coverage. Follow local requirements and the alarm manufacturer’s positioning instructions.
Keep the manuals, installation record and maintenance schedule together. If commissioning reveals smoke spillage or poor draft, have the cause corrected before routine use rather than accepting it as something to work around.